ARC Raiders expeditions are where every hour of Speranza prep pays off—or evaporates when you misread risk, overfill your pack, and die thirty seconds from extraction. Most players stall not because they lack aim, but because they treat each deploy like a loot piñata instead of a structured loop: workshop upgrades feeding Scrappy, Scrappy feeding materials, materials feeding blueprints, and blueprints feeding the loadout that makes the next expedition safer. This guide walks through that loop for ARC Raiders in 2026: how to plan expeditions by map and goal, when to push versus extract early, how Scrappy and workshop stations compound over a week of play, and the mistakes that turn profitable runs into inventory wipes.

What an expedition actually costs and returns
Every expedition spends time, ammo, med kits, and mental bandwidth. It returns materials, weapon parts, blueprint fragments, coins, and occasionally the one rare drop that unlocks a tier jump in your workshop. Before you queue, decide the run's primary output: currency for a gunsmith upgrade, mechanical components for Scrappy, blueprint intel for a stalled project, or safe XP for Raider level. Mixed goals are fine in squads; solo players should pick one headline objective or you will extract with a bag of mediocre everything and zero progress on the project that blocked you yesterday.
Loadout discipline matters as much as map choice. Bring the weapon you can afford to lose twice, not the shiny blueprint you just crafted once. Reserve one heal slot and one utility slot even when you feel invincible—ARC patrol timing punishes greed on the walk to shuttle or metro extract. If your stash is full, spend ten minutes in Speranza selling junk and upgrading one station before deploying again; expedition efficiency drops hard when you cannot absorb new loot.
Map selection: risk, density, and squad size
Surface maps differ in ARC density, verticality, loot concentration, and player traffic. Lower-risk routes suit solo warm-up runs where you practice extract timing and learn ARC audio cues without contesting every firefight. Higher-risk zones reward squads that coordinate roles—one player on overwatch, one on objective loot, one carrying extract tools—because contested extracts fail when everyone digs through the same crate simultaneously.
Rotate maps intentionally instead of autopiloting the same zone. Repetition builds comfort, but variety spreads blueprint pools and prevents burnout. When a patch shifts spawn tables or event modifiers, rerun your mental map checklist: Where is the nearest extract under fire? Which buildings give vertical escape? Which ARC types appear on your route home? Fifteen minutes of scouting on a quiet deploy saves an hour of corpse-running later.
Scrappy: passive progression that funds your workshop
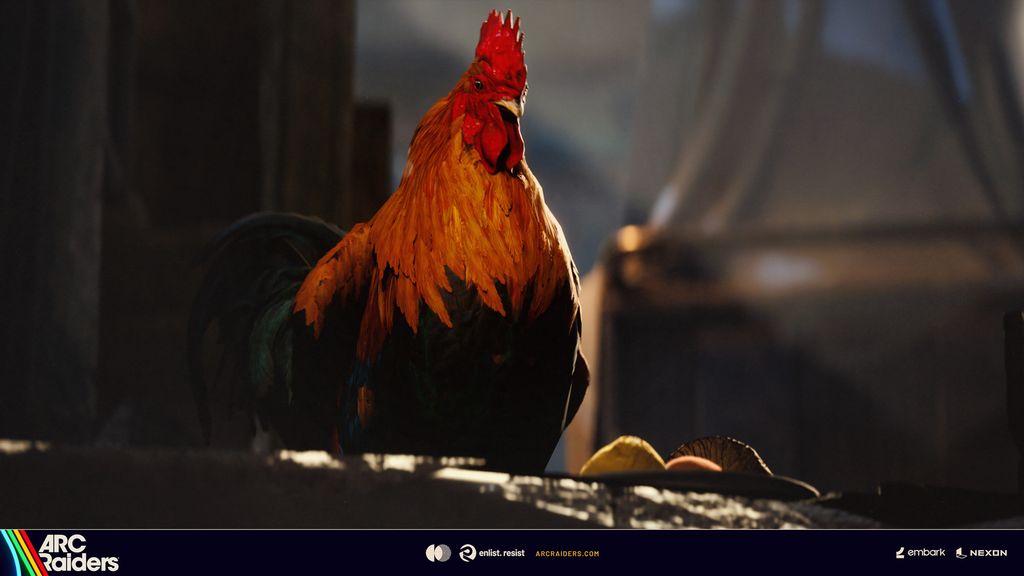
Scrappy is easy to underestimate because rewards arrive while you are in menus, but ignoring the companion is how accounts fall weeks behind on mechanical scraps and recycling outputs. Treat Scrappy upgrades as parallel progression to your gunsmith and workbench—not a cute side feature. Each tier widens what returns between expeditions, which means fewer desperate material farms and more expeditions spent chasing blueprints or coins.
Feed Scrappy consistently with the scraps your stash already generates from failed runs and deconstructed grey loot. Hoarding low-tier junk "just in case" often blocks inventory more than it helps; recycle on a schedule aligned with workshop project deadlines. If you are one tier away from a Scrappy milestone, prioritize expeditions that drop the missing scrap types instead of coin farming on maps you have mastered.
Workshop upgrade order that matches expedition goals
Workshop stations compete for the same material pools early game. A practical order for most Raiders: stabilize inventory and crafting (workbench / stash quality-of-life), then weapon reliability (gunsmith tiers that unlock mod slots you actually use), then Scrappy tiers that amplify passive returns, then specialized stations tied to your preferred loadout archetype. Deviating is fine if you squad with a medic or tech specialist who covers gaps—solo players rarely get that luxury.
Blueprint projects should gate expeditions, not the other way around. Read the next blueprint requirement, identify which map families drop those tags, and chain two or three expeditions aimed at that project before chasing cosmetic or low-probability chase drops. Players who blueprint-hop every session spread progress thin; players who finish one station tier completely feel power spikes that make the next map tier manageable.
Should I extract early with a half-full bag?
Often yes. A successful early extract beats a full bag lost to a Matriarch patrol you heard thirty seconds too late. Set a minimum profit threshold—coins plus key materials—and extract when you hit it unless your squad explicitly committed to a deeper objective. Momentum players hate this rule until they compare weekly net gains.
How do I recover after losing my best loadout?
Rebuild from duplicated blueprints and down-tier weapons you still own in stash. Run lower-risk expeditions until you replace mods, then resume project-focused routes. Avoid rage-queueing into high-traffic maps while tilted—that is the fastest path to duplicate losses.
Is Scrappy worth upgrading before my gunsmith?
If you are material-starved every session, Scrappy first. If your weapons are genuinely holding back kills and extracts, gunsmith first. Most players benefit from alternating: one gunsmith tier, one Scrappy tier, repeat—keeps both passive and active power climbing together.
Solo vs squad expeditions for progression?
Squads extract contested loot more reliably and revive you past mistakes that end solo runs. Solos keep all loot tags and learn map rhythm faster. Mix both: solo scouting nights, squad profit nights when friends are online.
Expedition session structure that respects your stash
Block sessions into deploy cycles instead of endless queues. A solid two-hour block: one warm-up extract, one project-focused run, one high-risk attempt if stash space and supplies allow, then workshop maintenance in Speranza. Maintenance means install new mods, start Scrappy timers, recycle junk, and mark the next blueprint target before you click deploy again. Skipping maintenance turns sessions into loot piles you cannot use.
Track failures as data, not drama. Note which map, squad size, and loadout preceded wipes. Patterns emerge—overweight bags, late rotates, chasing PvP when you meant to PvE farm. Adjust one variable per session so you know what actually improved extract rate.
Coins, materials, and when to stop farming
Coins fuel workshop upgrades and vendor purchases; materials fuel blueprints and Scrappy. When both guides on this site overlap, use coins for immediate gear gaps and materials for long-term station tiers. Stop farming when your stash hits capacity or your active blueprint no longer needs tonight's map tags—continuing past that point invites preventable deaths carrying junk you will delete anyway.
If you are shopping services to skip repetitive farms, verify sellers against your platform and current season rules—see our progression overview for scope questions before checkout.
Weekly expedition checklist
- Pick one blueprint or workshop tier as the week's headline goal
- Upgrade Scrappy on schedule—do not let tiers sit idle
- Rotate maps to spread loot pools and learn extract routes
- Extract on profit thresholds, not on pride
- Run stash maintenance between deploy blocks
- Pair active expeditions with passive Scrappy returns
Related ARC Raiders guides
- ARC Raiders materials farming guide
- ARC Raiders blueprints complete guide
- ARC Raiders weapons & loadouts
- ARC Raiders coins farm guide
- More ARC Raiders guides
Disclaimer
Map layouts, loot tables, workshop costs, and Scrappy tuning in ARC Raiders change with patches. Verify current values in your client before planning long expedition grinds or purchasing third-party services.